
 vue和element-ui整合
# 安装nodejs
在nodejs (opens new window)官网上找到相应系统的安装包,安装即可。
警告
注意:有的系统中的nodejs8.0以上会有bug,建议使用8.0版本
# 安装vue
参考vue官网 (opens new window)的安装教程
安装vue
这里使用cnpm安装
# 最新稳定版
$ cnpm install vue
1
2
2
然后安装vue-cli
然后再创建一个webpack模板的项目
# 全局安装 vue-cli
$ cnpm install --global vue-cli
# 创建一个基于 webpack 模板的新项目
$ vue init webpack my-project
# 安装依赖,走你
$ cd my-project
$ cnpm install
$ cnpm run dev
1
2
3
4
5
6
7
8
2
3
4
5
6
7
8
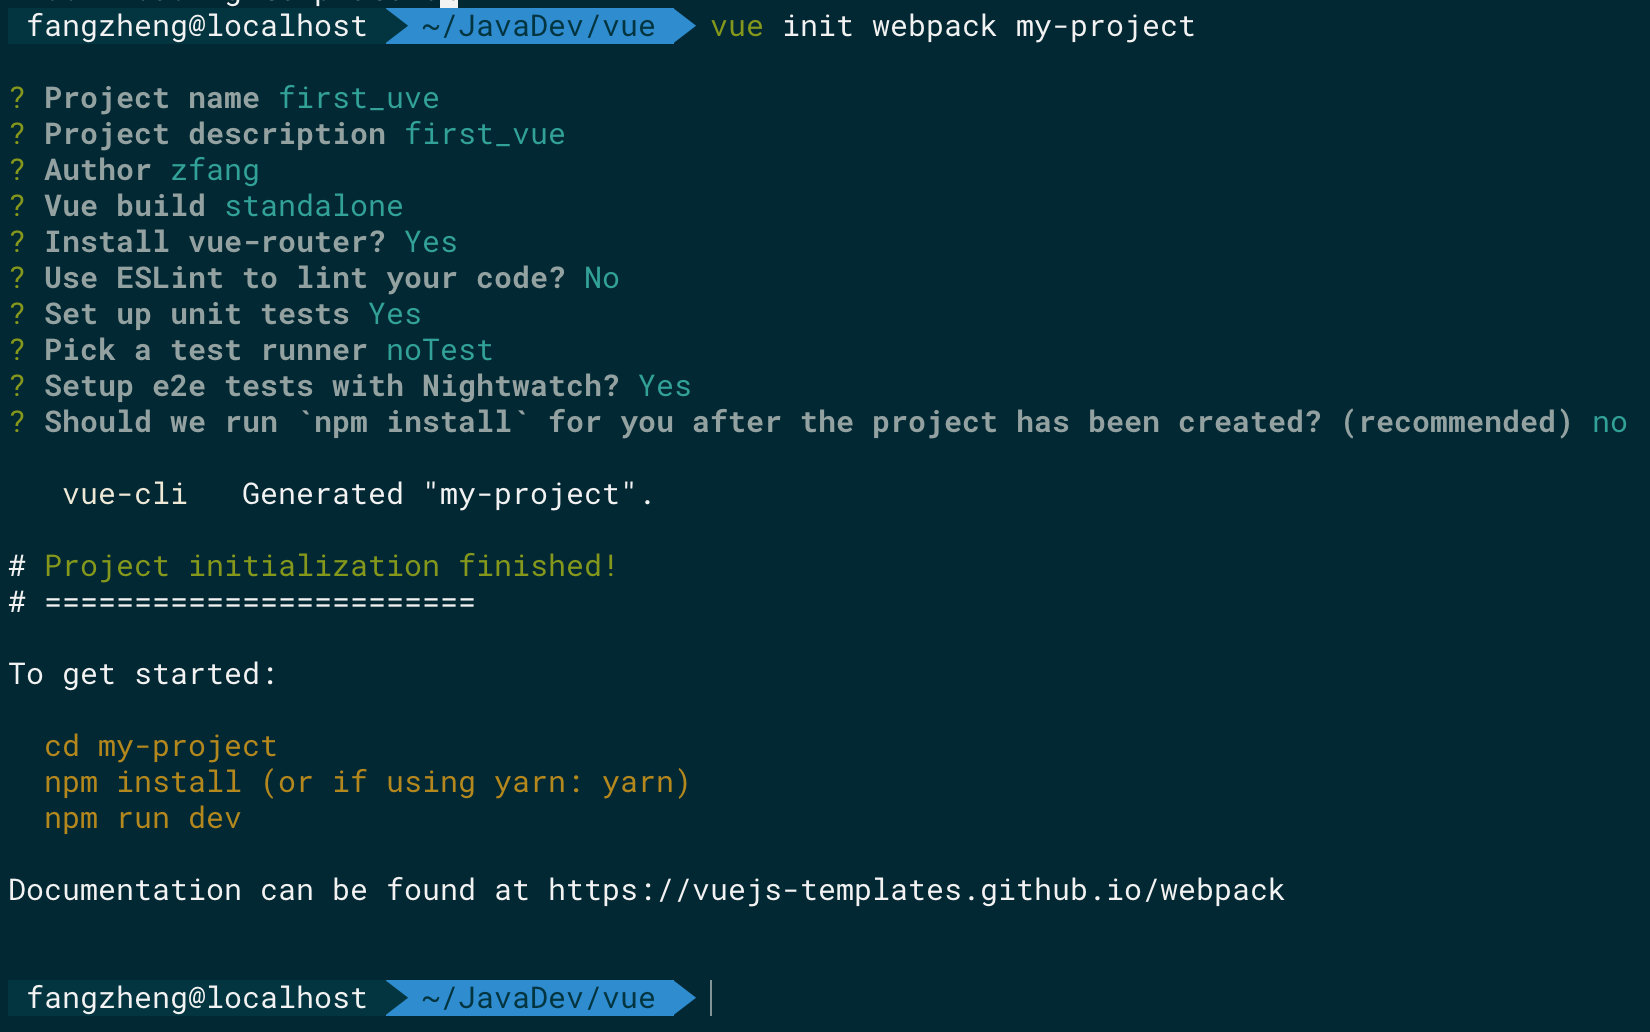
其中:在使用vue init webpack my-project时有一个bug,就是会卡住不动。据说是nodejs8.0的bug,不过我等了一会后也能访问了,如果出现卡住一直不行的话,建议将nodejs降级到8.0应该会好。
以下是使用webpack搭建项目的截图
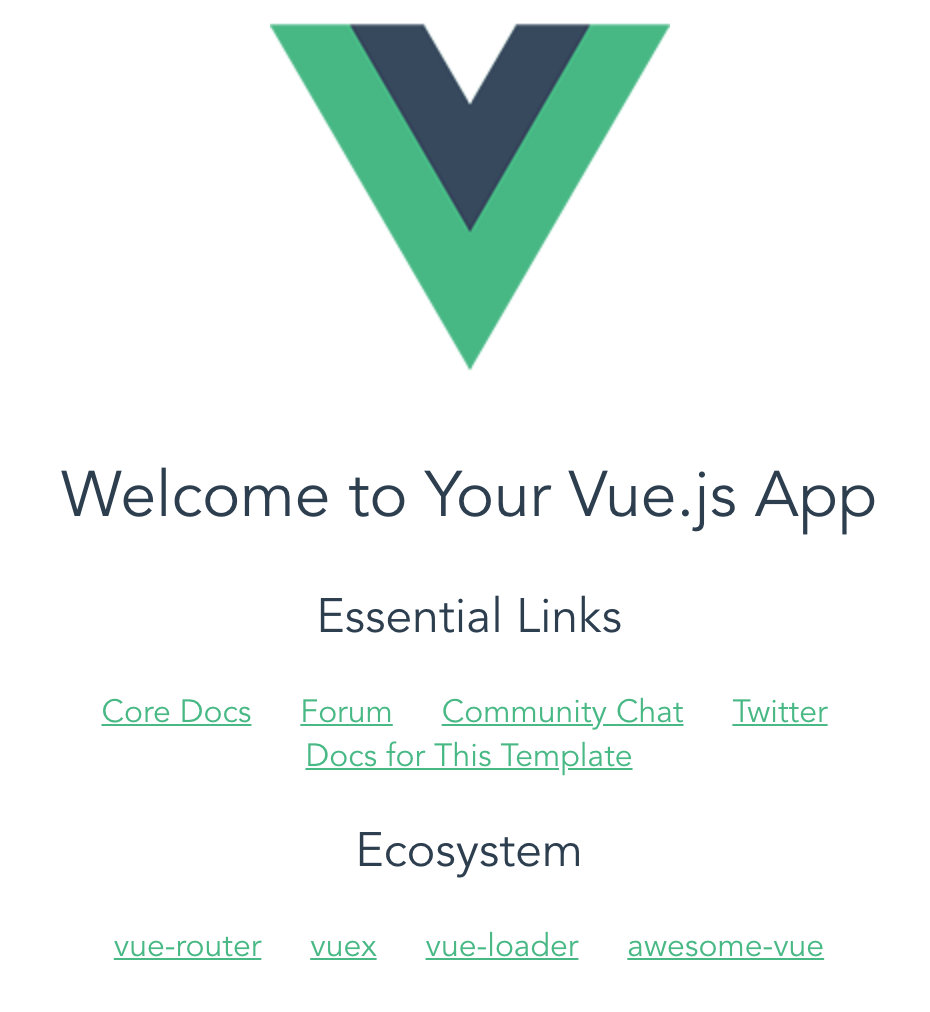
如果以上都没问题的话,就可以启动了。访问http://localhost:8080/ (opens new window) 如果出现如下熟悉的vue页面,表示安装成功。
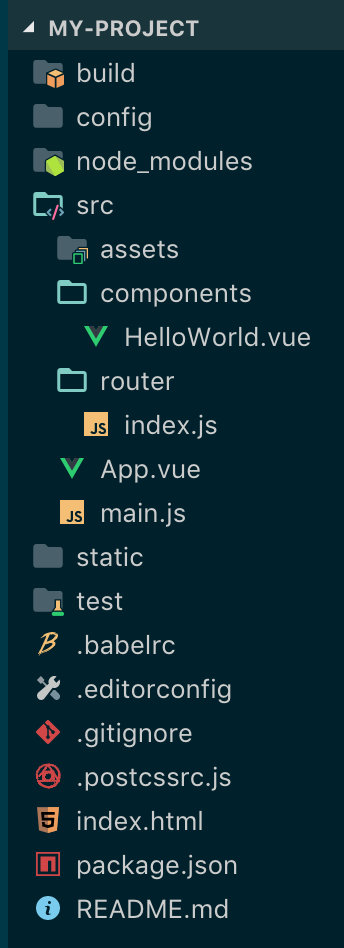
创建完成的项目结构如下:
# 使用element-ui
参考elementi-ui (opens new window)官网教程
# 安装element-ui
cnpm i element-ui -D
1
i 对应install
-D 表示是--save-dev
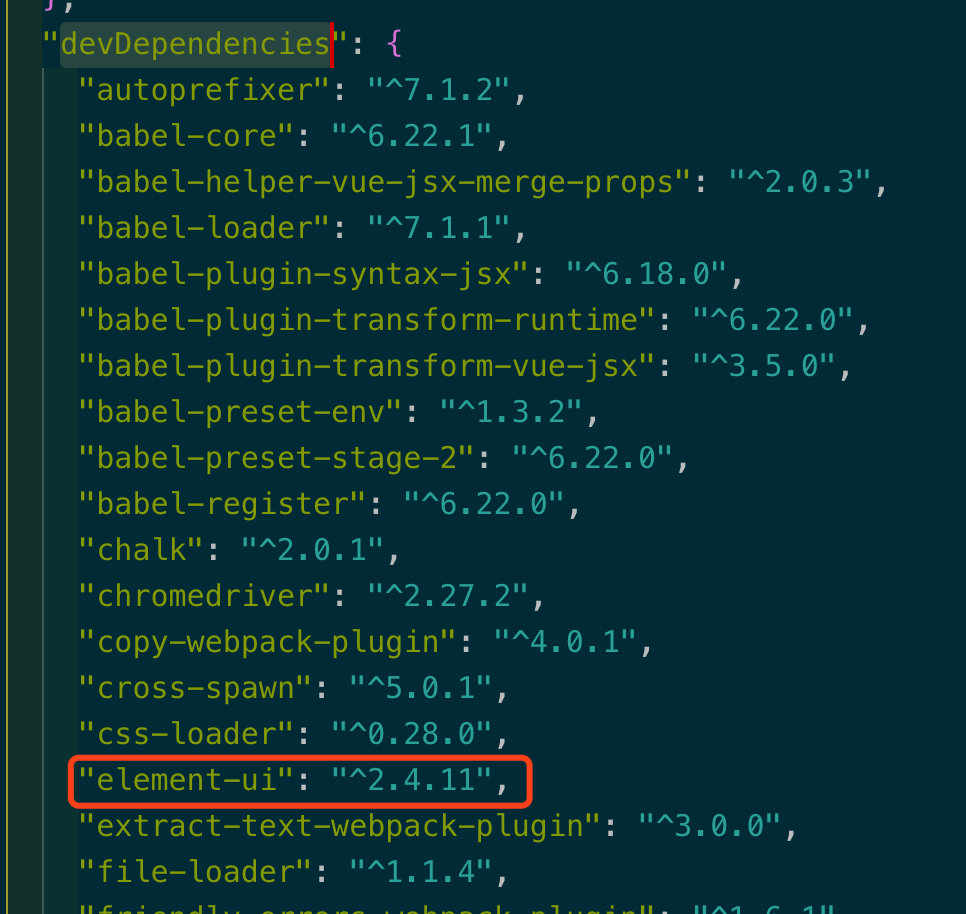
注意:使用-D的好处就是,安装完成后,会自动将组件给你装载进package.json文件的devDependencies里
# 引入element-ui
打开webpack模板的vue项目中的main.js(入口)文件
main.js
import Vue from 'vue'
import App from './App'
import router from './router'
// 把element-ui里的所有组件都引入进来
import ElementUI from 'element-ui';
import 'element-ui/lib/theme-chalk/index.css';

Vue.config.productionTip = false

new Vue({
  el: '#app',
  router,
  components: { App },
  template: '<App/>'
})
1
2
3
4
5
6
7
8
9
10
11
12
13
14
15
16
2
3
4
5
6
7
8
9
10
11
12
13
14
15
16
# 使用element-ui
先来几个按钮,在HelloWorld.vue文件中使用element-ui的按钮
HelloWorld.vue
<template>
  <div class="hello">
    <el-row>
      <el-button>默认按钮</el-button>
      <el-button type="primary">主要按钮</el-button>
      <el-button type="success">成功按钮</el-button>
      <el-button type="info">信息按钮</el-button>
      <el-button type="warning">警告按钮</el-button>
      <el-button type="danger">危险按钮</el-button>
    </el-row>
  </div>
</template>

<script>
export default {
  name: 'HelloWorld',
  data () {
    return {
      msg: 'Welcome to Your Vue.js App'
    }
  }
}
</script>

<!-- Add "scoped" attribute to limit CSS to this component only -->
<style scoped>
h1, h2 {
  font-weight: normal;
}
ul {
  list-style-type: none;
  padding: 0;
}
li {
  display: inline-block;
  margin: 0 10px;
}
a {
  color: #42b983;
}
</style>
1
2
3
4
5
6
7
8
9
10
11
12
13
14
15
16
17
18
19
20
21
22
23
24
25
26
27
28
29
30
31
32
33
34
35
36
37
38
39
40
41
42
2
3
4
5
6
7
8
9
10
11
12
13
14
15
16
17
18
19
20
21
22
23
24
25
26
27
28
29
30
31
32
33
34
35
36
37
38
39
40
41
42
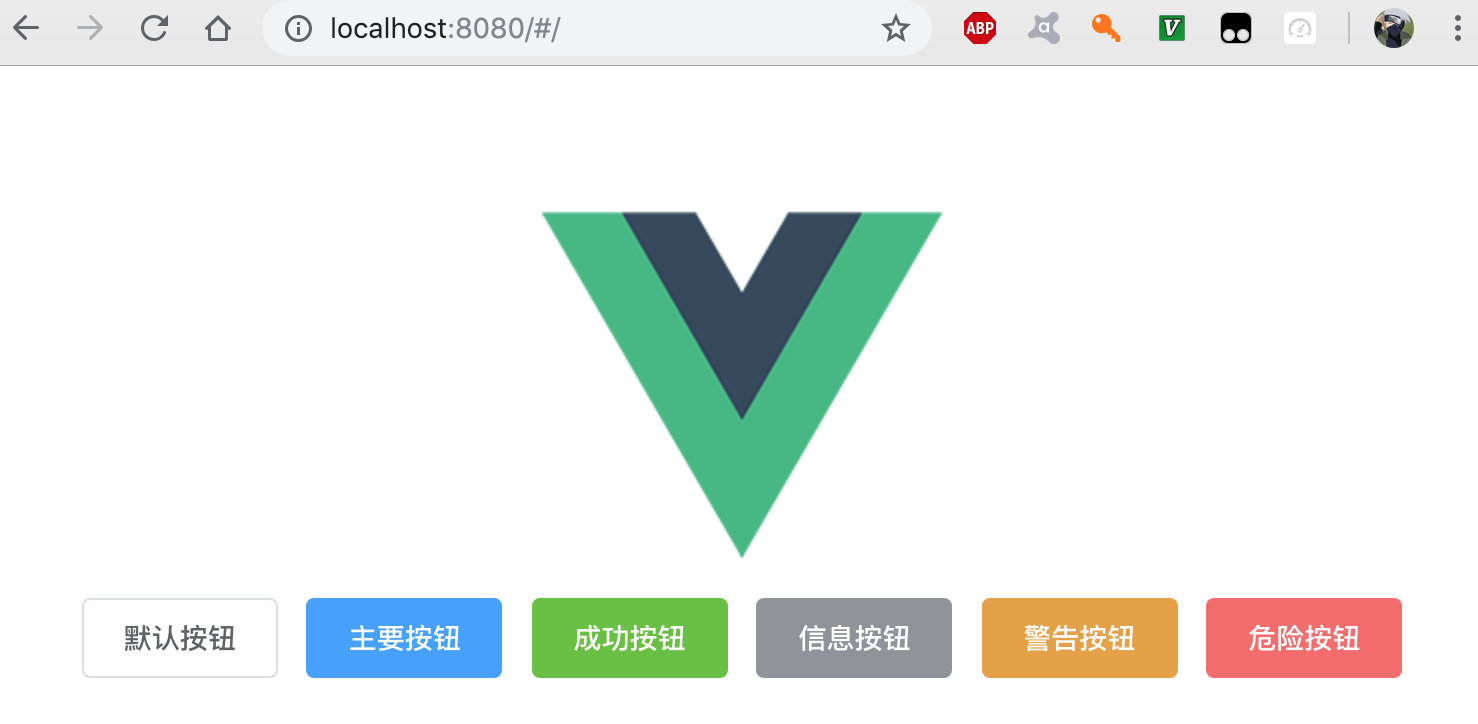
然后刷新页面,出现如下按钮,表示vue+element-ui使用成功!
最后更新时间: 2022/7/23 10:17:11